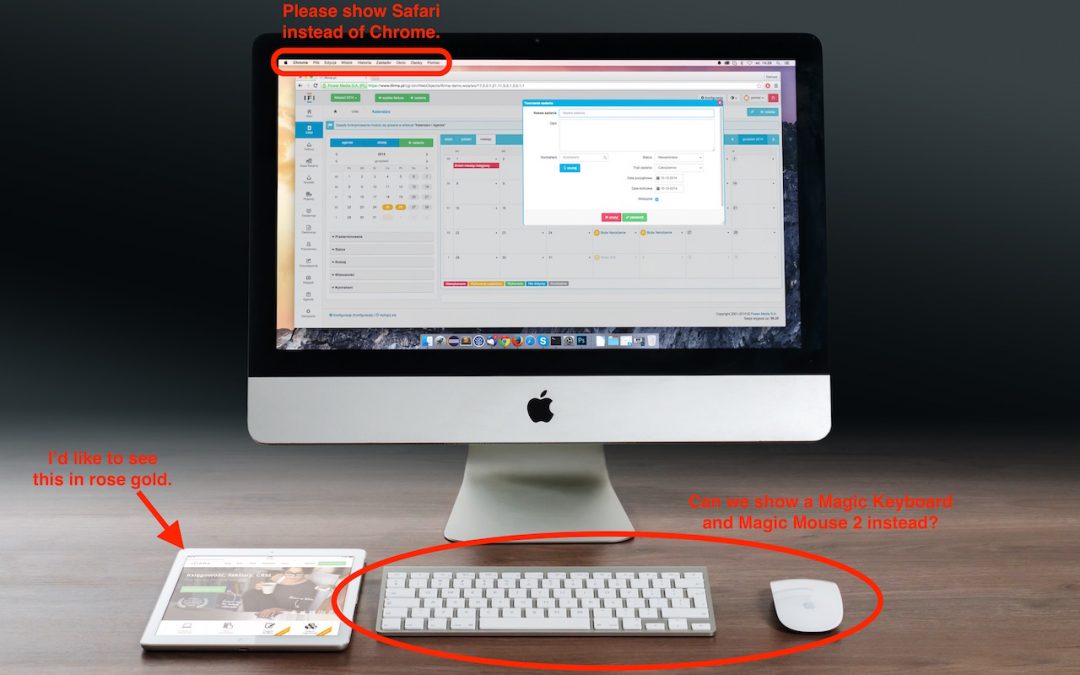
Did you ever want to capture a picture of what’s on your screen, or at least a part of it? Screenshots aren’t just for technical writers trying to document app behavior—you might also use them to provide feedback on a photo, to document an error message for someone who helps you with your Mac, or to record a particularly funny auto-correct fail in Messages on your iPhone.
macOS and iOS have both long included built-in screenshot features that make it easy to take a high-resolution picture of what you see onscreen. (You can, of course, use a camera to take a photo of your screen, but that will never look as good.)
Taking a screenshot in iOS is super simple, and it works the same on an iPhone, iPad, or iPod touch. Just press the Home and Sleep/Wake buttons simultaneously. The screen flashes, and iOS saves the screenshot to your Photos app—look at the bottom of the Photos collection or, if you’ve turned on iCloud Photo Library, the All Photos album.
The same technique works on the Apple Watch, where you press both the digital crown and the side button simultaneously. (Accidental presses of those buttons explains why random Apple Watch screenshots might appear in Photos.)
On the Mac, you can take your pick from three built-in methods of taking screenshots:

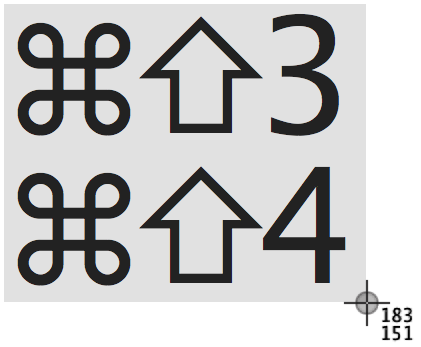
If you take a lot of screenshots, consider memorizing macOS’s keyboard shortcuts. For a full-screen screenshot, press Command-Shift-3. For a screenshot of an arbitrary size, press Command-Shift-4 and drag out a rectangle. To capture just an object like a window, press Command-Shift-4, hover the pointer over the window, press the Space bar to show the camera cursor over the highlighted object, and then click to take the screenshot.
A few notes:
- The Command-Shift-4 shortcut is the only way to capture a menu.
- On a MacBook Pro with a Touch Bar, after you press Command-Shift-4, notice the helpful buttons on the Touch Bar.
- All screenshots are saved as PNG files on your Desktop and named with the date.
You can also take screenshots using a cornucopia of third-party screenshot utilities. In general, they don’t offer much more than Apple’s options when it comes to capturing screenshots. Where they stand out is providing better tools for marking up and manipulating screenshots, and in offering an interface for managing and sharing screenshots. Choosing among them is largely a matter of personal preference, but check out Evernote’s free Skitch (My Favorite), the free Monosnap, and Global Delight’s $29.99 Capto.
Whatever method you choose, remember that a picture may be worth a thousand words, but the right screenshot is even more valuable.

0 comments:
Post a Comment