Thursday, March 30, 2017

Dont get scammed by fake Apple Support calls!


If you get a call from someone claiming to be from Apple Support, and that your iCloud account has been compromised, Hang Up immediately. They are FAKE!

Reports are flying across the web and twitter about fake Apple Support calls trying to piggy back on the "iCloud Hack" news of last week. Including MacWorld writer Glen Fleishman, who says his wife was called at least 6 times: 


"Earlier on Monday, my wife let me know that “Apple Support” had called about iCloud security. She was dubious, and rightly so. “Apple” then called five more times (and counting). Suffice it to say, it wasn’t Apple, but fraudsters trying to piggyback on reports that a major breach of iCloud credentials could render hundreds of millions of accounts vulnerable."

KIRO 7 news in Seattle reported the victims were then asked for personal information to verify the account. RED FLAG!

Victims have reported an automated call, that claims to be "Apple Support" and warns their account has been compromised. The victim is then routed to a human or "advisor" for "help".

Per Apple
 

  • Always confirm the caller's identify before you provide any sensitive information over the phone. If you get an unsolicited call from someone claiming to be from Apple, hang up and contact us directly.
  • never provide personal account information—including your Apple ID password, credit card info, or other personal information—by email or text message, and use extreme caution when clicking links in messages or sharing information over the phone. Instead, visit the company's website directly or call them yourself.
Apple can be reached at 1-800-275-2273

People who have fallen for this scam have apparently been bilked and had bank accounts drained


Spread the news and share this post!! And if you get a call from "Apple Support", Hang Up!

Wednesday, March 29, 2017

4 New Apple OS Features You Can Use Today

Apple just released new versions of all its operating systems—iOS, macOS, watchOS, and tvOS—fixing bugs, plugging security holes, and, best of all, adding a few new features. Here are four things you can do once you’ve updated. (If you’re concerned that installing the updates may cause other problems, check with me first.)

1: Sleep better after using your Mac late at night.

macOS 10.12.4 Sierra has gained Night Shift, a feature from iOS that automatically shifts the colors of the screen to the warmer end of the spectrum after dark. Night Shift may help you sleep better by reducing the amount of blue light that tricks your body into thinking it’s earlier than it is.
To set up Night Shift, open System Preferences > Displays > Night Shift and choose Sunset to Sunrise from the Schedule pop-up menu. Night Shift knows when the sun rises and sets wherever you are, but if you prefer, you can also set custom on and off times. (If you don’t see the Night Shift button in the Displays preference pane after upgrading to 10.12.4, your Mac is unfortunately too old to support Night Shift.)


If you’re working with graphics at night, or if video looks odd, you can turn off Night Shift manually. Do that either in the Displays preference pane or by scrolling down in Notification Center (click it in the upper-right corner of the screen) to see the Night Shift switch.

2: Find the AirPod that fell between the couch cushions.

Apple’s wireless AirPods earbuds are cute, but they’re also easy to misplace. If you can’t find yours, iOS 10.3’s Find My iPhone app can help. Bring it up, tap the AirPods icon in the display, and then tap the Play Sound button to make them play a locator sound. If you’ve lost only one AirPod, you can mute the other so it’s easier to hear where the sound is coming from.


Note that Find My AirPods works only when in range of a paired iOS device, so it may not help if you lose an AirPod while running.

3: Don’t be “that person with the Apple Watch” at the theater.

You’re in a darkened theater, at a movie or a play, and when you move in your seat or cover your mouth to cough, your Apple Watch’s screen turns on, annoying the people around you. Even worse is when a notification rolls in, causing the watch to make a sound. Embarrassing, we know. Happily, watchOS 3.2 adds Theater Mode, which turns on Silent mode and keeps the screen dark by disabling its standard “raise to wake” behavior.
To enable Theater mode, open Control Center by swiping up from the bottom of the screen. Then tap the Theater Mode button, which is emblazoned with theater masks. After the performance, you’ll need to disable Theater mode manually by tapping its button again.


If you do need to check the time surreptitiously (who knew this performance would go so long!), tap your Apple Watch’s screen, or press the Digital Crown or side button.

4: Ask Siri to find your car in a humongous parking lot

We’ve all been there. You parked at the mall, but got turned around while you were inside, and now you can’t find your car in the sea of automobiles. In iOS 10.3, you can now search for “parked car” in Maps, or just ask Siri, “Where did I park?”


And if you ever lose your car at a place like Disney World, this feature alone will be worth the price of the iPhone!

Note of caution - I typically tell my clients to wait a minimum of two weeks before installing any new updates such as these. Keep in mind the new releases are DAYS old (as of this post). May want to hold off on installing and see if there are any bugs that need worked out. But at least you know about some new features you can look forward to. Feel free to drop me a line if you are interested if its safe yet. ;-)

Monday, March 27, 2017

Breathe new life into an old Mac

I understand. That MacBook Pro you bought a few years back doesn’t seem like it should need replacing, but performance has started to lag, and you don’t have the money for a shiny new Touch Bar model. Adding RAM up to 8 or 16 GB can help, but the best bang for your buck in terms of performance comes from swapping your Mac’s hard drive for a solid-state drive, or SSD.

What’s an SSD? As the name implies, it’s a storage device that has no moving parts—no spinning disks and no read/write heads skimming along just a few nanometers above the disk surfaces. Instead, SSDs use flash memory, a type of non-volatile memory whose chips retain data even without power.

SSDs have two huge advantages over traditional hard drives. The first is reliability, particularly in laptops that are picked up and set down many times a day. Drop your MacBook Pro on the desk a little too hard, particularly while it’s on and the drive is spinning, and that read/write head could hit the surface of the disk—the very definition of a hard disk crash. With no moving parts, SSDs aren’t nearly as vulnerable to physical damage.
But the second advantage is why SSDs have become so popular—they’re fast, really fast. One SSD vendor advertises them as up to 92 times faster than hard drives. Obviously, the specifics can vary quite a bit, but in system benchmarks, swapping an SSD in for a hard drive can improve overall performance by 50 percent or more. Drive-intensive activities like booting see the most benefit—you’ll be shocked at how much faster your Mac boots with an SSD! Boot times can go from 45 seconds or more, down to 10 seconds or less.

So if you’re trying to goose the performance of your older Mac, look into an SSD. Your mac will feel brand new again! If your interested in getting an SSD installed in your iMac or MacBookPro, let me know, and we can get it set up. The clients that have done so, are more than pleased!

Saturday, March 25, 2017

Restore Files from Time Machine for Peace of Mind

Restore Files from Time Machine for Peace of Mind

You are backing up your Mac’s data, right? (No? Really? Open System Preferences > Time Machine and set up backups to an external hard drive. I'll wait. Otherwise, the question is not if you’ll lose data, but when.)

Backups are essential, but many people don’t realize that there’s something even more important: the capability to restore your data in case of a catastrophe. All too often, people believe they’re backing up, but because disasters are rare, they don’t realize the backups aren’t being made properly until it’s too late. And even if your backups are good, you don’t want to learn how to restore while you are stressed out about possibly lost data.
Follow along, then, and let’s restore some data from your Time Machine backup together, so you both know that your backups are working and that you’ll be ready should you need to resort to your backup.
  1. In the Finder, select the file or folder you want to recover, or if it was deleted, the folder that previously contained it. (For this example, we’ll practice with the iTunes Library.itl file that stores data for iTunes; it’s in the iTunes folder inside your account’s Music folder.)
  2. Choose Enter Time Machine from the Time Machine  menu in the menu bar. (If you don’t see this menu, open System Preferences > Time Machine and select the checkbox for “Show Time Machine in menu bar.”)
    Your selected window moves to the center of the screen, whose background blurs, and copies of the window stack up behind it, each indicating a previous backup.
  3. Find the version of the file or folder that you want, perhaps a backup from a few days ago. You can do this in one of two ways:
    • Click the arrows to the right the windows to move back (the top arrow) or forward (the bottom arrow) in time. For each click, Time Machine jumps to the most recent backup in which the files shown in the window were different.
    • Use the bars on the right side of the screen to navigate to a particular backup. As you hover over the bars, they expand to display the date of each backup; click a bar to jump to the state of the window at that point in time.
  4. Because we’re just practicing here, we’ll restore to the Desktop instead of the original location. Right-click or Control-click the item you want to restore and choose Restore “filename” To from the contextual menu.


  5. Time Machine switches you to the Finder and opens a Save dialog. Navigate to the Desktop by pressing Command-D, and then click Choose, after which Time Machine restores the file to the Desktop.

If you were really restoring a corrupted or deleted file, you could instead just click Time Machine’s Restore button, which is even easier, since then Time Machine restores the file to its original location. If a file with the same name exists, the Finder prompts you to replace the existing file, keep both copies (which renames the existing file with “(original)” at the end), or keep the original (which cancels the restoration).


That’s it! Try restoring a few more files and folders to the Desktop until you’re comfortable with Time Machine’s interface, and when you’re done, trash everything you’ve restored to the Desktop. To check that your backups continue working properly, restore some files once a month or so.


Thursday, March 23, 2017

Rearrange iPhone - iPad Home Screen Icons More Easily

Wednesday, March 22, 2017

Apple releases new iPhone and iPad models

Apple Tweaks iPad and iPhone Product Lines 

Apple often adjusts its iPad and iPhone lineup in March, and this year’s changes make the selection more attractive and affordable while adding a new way to support the (RED) international charity. Let’s take a closer look at what Apple has done and what it means for you.

New iPad replaces iPad Air 2

The most significant of Apple’s changes is the replacement of the iPad Air 2 with a new 9.7-inch iPad model called simply “iPad.” This latest iPad is extremely similar to the iPad Air 2, and although most of the changes are for the better, Apple cut a few features so as to reduce the price to the lowest ever for a 9.7-inch iPad.
Physically, the new iPad is almost identical to the iPad Air 2, apart from being 1.4 mm thicker, which might cause problems for some current cases. More interesting is that Apple swapped the iPad Air 2’s A8X processor for the faster A9 chip, which should improve performance. The cameras remain mostly the same too, though photos taken with the rear-facing camera should be somewhat better, thanks to two improvements over the iPad Air 2’s camera: auto image stabilization to help avoid blurry images and a hybrid infrared filter to improve color accuracy and sharpness.
On the downside, the new iPad lacks the iPad Air 2’s laminated display and anti-reflective coating, which combined to increase screen clarity, particularly in bright light. You’d have to compare the new iPad against the more expensive iPad mini 4 or the much more expensive 9.7-inch iPad Pro to see if the screen change is a major problem for you.
The big win with the new iPad is price, which has dropped $70: it’s now only $329 for the Wi-Fi–only 32 GB model or $429 for 128 GB. The cellular models cost $459 for 32 GB and $559 for 128 GB. It’s now the least expensive iPad and what Apple expects most new buyers to purchase. It’s available starting March 24th.

Apple reduces iPad mini 4 price, drops iPad mini 2

The new iPad takes over the entry-level iPad spot from the iPad mini because Apple simultaneously dropped both the iPad mini 2, which had been priced at $269, and the 32 GB model of the iPad mini 4, which previously sold for $399. That leaves just the 128 GB iPad mini 4, and Apple slashed $100 off its price to bring it down to $399. Despite the price drop, unless you especially want the iPad mini’s smaller size or better screen, it’s probably worth $30 to move up to the new 128 GB iPad.

Paint the town (RED) with new iPhone 7 models

For more than 10 years, Apple has partnered with the (RED) international charity to raise money for the Global Fund to combat AIDS, tuberculosis, and malaria. By offering products in the licensed PRODUCT(RED) color and donating a portion of the proceeds, Apple has raised over $130 million for (RED), making it the charity’s largest corporate donor.
On March 24th, Apple will start selling the
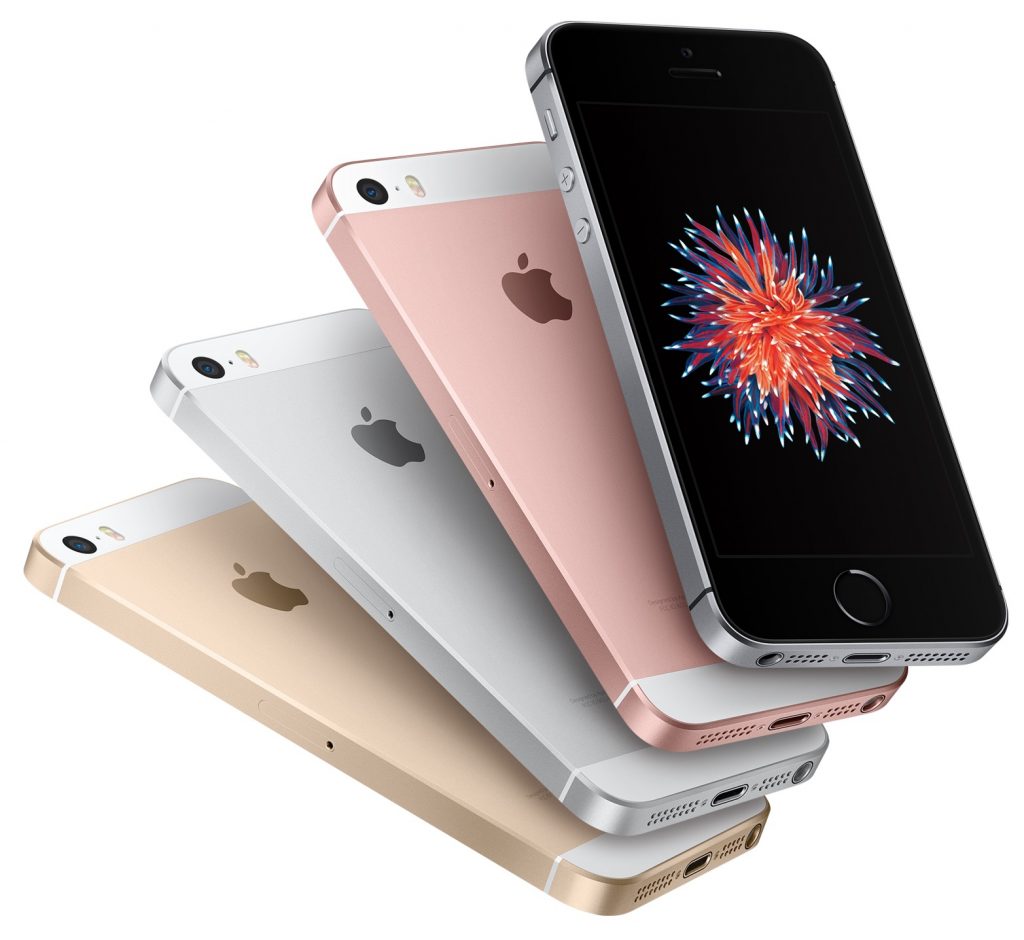
 iPhone 7 and iPhone 7 Plus PRODUCT(RED) Special Edition models in 128 GB and 256 GB capacities. They’re functionally identical to the existing iPhone 7 and 7 Plus models and are priced the same too, but they come in what Apple calls “a vibrant red aluminum finish.” It’s a strong color that’s a far cry from Apple’s almost pastel rose gold color choice.
And if you’d like a PRODUCT(RED) iPhone, but have a perfectly serviceable iPhone that you don’t want to replace, Apple now offers silicone and leather cases in the (RED) color—they’re not quite as snazzy as the red aluminum finish, but they’re similarly bright.

iPhone SE now holds twice as much

Last, but not least, Apple has doubled the storage tiers for the 4-inch iPhone SE, so you can now purchase a 32 GB model for $399 or a 128 GB model for $499. This minor change is welcome for two types of iPhone users.
First, if you’re looking for the least expensive iPhone, the 32 GB iPhone SE at $399 is $150 cheaper than the 32 GB iPhone 6s at $549. And second, some people with smaller hands or pockets don’t like the extra bulk of even the 4.7-inch iPhone 6s/7, much less the 5.5-inch iPhone 6s/7 Plus. For them, the svelte iPhone SE is a perfect size, and it’s helpful that buying it no longer requires living with only 16 GB or 64 GB of storage.

If you have questions about which of these products is right for your needs, get in touch with me!

Tuesday, March 21, 2017

Hackers to Apple - Pay up or we start wiping phones!

A group of hackers claim that they have access to a large number of iCloud accounts and will start wiping iPhones on April 7th if Apple does not pay a ransom.

The Hackers, identified as "The Turkish Crime Family" have demanded $75,000 in bitcoin or $100,000 in iTunes gift cards in exchange for deleting the list of accounts they are in possession of. The hackers claim to have access to over 300 million accounts. One hacker claims the number is 559 million.

My recommendation - Change your iCloud password NOW and perform a manual backup of your phone to your computer with iTunes.

How to backup with iTunes
How to change iCloud password

Hackers report on Cult of Mac
Hackers report on Motherboard
Hackers report on Metro

Saturday, March 18, 2017

iPhone Applecare purchase now extended to 1 year.

Various Macintosh news sites are reporting that Apple has retroactively changed their policy on Apple Care purchase on iPhones. Previously you had to purchase Apple Care within 60 days of your iPhone purchase. Apple has now extended that to 1 year from the date of purchase. This only applies to the iPhone however and not the iPad or Apple Watch.

Every Apple TV, Apple Watch, iPad, iPhone, iPod, and Mac and display comes with complimentary telephone technical support and a limited warranty from Apple. The AppleCare Protection Plan and AppleCare+ extend your service coverage and give you one-stop service and support from Apple experts. – Apple.

AppleCare+ costs $129 for most iPhones, and $99 for the iPhone SE, and extends an iPhone's warranty coverage to two years from the original purchase date of the device, and adds up to two incidents of accidental damage coverage, each subject to a service fee of $29 for screen damage, or $99 for any other damage.

AppleCare+ for iPhone also provides 24/7 priority access to AppleCare advisors via chat or phone for up to two years after the device's original purchase date. Without the plan, iPhone owners are covered by a limited one-year warranty and 90 days of complimentary telephone support.

AppleCare+ for iPhone also covers EarPods, Lightning to USB cables, and batteries that retain less than 80 percent of their original capacity.

In order to purchase AppleCare+ after the fact, separately from the iPhone, Apple must physically inspect the device to ensure there is no existing damage. Proof of purchase, such as a receipt, is also required. If purchased online, Apple requires customers to verify their serial number and run a remote diagnostic test.

If you do want to buy AppleCare+ on your new iPhone, all you have to do is take the device into an Apple store for inspection. 

Via Cult of Mac
Via Macrumors
Via iphonehacks
Via The Apple Post

Wednesday, March 15, 2017

Now we have to worry about exploding headphones?!! WTF!

We were warned about exploding hoverboards, then it was exploding phones. Now comes the warning of exploding headphones!


An unidentified woman suffered burns to her face  when her noise-cancelling headphones exploded on a flight to Melbourne. The woman fell asleep while wearing the headphones and awoke to a loud explosion and a burning sensation. “As I went to turn around I felt burning on my face. I just grabbed my face which caused the headphones to go around my neck, I continued to feel burning so I grabbed them off and threw them on the floor, They were sparking and had small amounts of fire.”

Flight attendants sprang into action as the headphones starting melting onto the cabin floor. “As I went to stamp my foot on them the flight attendants were already there with a bucket of water to pour on them,” the woman said. “They put them into the bucket at the rear of the plane. People were coughing and choking the entire way home,” the passenger said.

Both the battery and cover were melted and stuck to the floor of the aircraft. Fumes from the explosion filled the cabin the rest of the flight. Authorities did not say what brand the exploding headphones were.