Wednesday, February 21, 2018

Goldilocks and the Three PDF Apps: Which Is Right for You?

Goldilocks and the Three PDF Apps: Which Is Right for You?

PDFs are everywhere these days. Scanners generally create documents in PDF, ebooks are often distributed in PDF, and government agencies make their paper forms available as interactive PDFs.
So it’s essential to have an app on your Mac that can work with PDFs, and in fact, such an app is included: Preview. But as good as Preview is, it can’t do everything you might want, and just like in the fairy tale of Goldilocks and the Three Bears, there are three popular apps for working with PDF: Preview is the first, and while it’s decent and free, Smile’s PDFpen and PDFpenPro offer quite a few more features but cost $75 or $125. The high-end spot is occupied by Adobe’s Acrobat Pro DC, which is priced at a hefty $450. Which PDF app is right for you?


PDF-Preview-icon


You won’t go wrong starting with Preview, which enables you to rearrange pages in a PDF, copy pages from one PDF into another, delete pages, and even import new pages from a scanner. Preview lets you navigate PDFs via the table of contents or thumbnails, and can display the pages in a grid. If you’re trading a PDF back and forth with a collaborator, you can use Preview to highlight text and add annotations. Preview even makes it possible to fill out interactive forms and sign documents with a stored photo of your signature. It has a search capability, although it’s a little weak, and you can bring up an inspector window that displays metadata about the PDF, although you can’t change anything in there apart from keywords.


PDF-PDFpenPro-icon


PDFpen and PDFpenPro can do everything Preview can, and quite a bit more. When scanning a page, they can perform optical character recognition (OCR), which adds searchable and editable text to the scanned image of the document. Speaking of text, both apps can add to and change the text of a PDF, which is handy when you want to make a quick correction or update an old document. They also let you move, resize, and delete images in PDFs, redact sensitive information, find and replace text, add file and audio attachments, and export to Microsoft Word format. PDFpenPro goes even further, making it possible to turn a Web site into a PDF, export to Microsoft Excel and PowerPoint formats, create and edit a PDF’s table of contents, create links from URLs in a document, and more.


PDF-Acrobat-icon


What more do you get with Acrobat Pro DC for more than three times the price of PDFpenPro? (It’s also included with an Adobe Creative Cloud subscription.) Since it comes from Adobe, the company that created PDF, Acrobat will work with complex and involved PDFs that might stymie the other apps. Acrobat offers high-end print production features, integration with Microsoft Office, and a side-by-side view for fixing suspected text recognition errors in an OCRed scan. Most important, if you need to edit PDFs frequently, Acrobat can reflow text across an entire page, add new lines to existing bulleted or numbered lists without reformatting, and clean up document photos to remove the background and adjust perspective.

My recommendation? Start with Preview and see whether you need more features. If PDFpen or PDFpenPro will resolve your problems, they’re solid performers that don’t cost too much. But if you find yourself spending your days working on PDFs, particularly in a collaborative environment or with a lot of text editing, Acrobat Pro DC may be worth the money.

Tuesday, February 20, 2018

Take Advantage of Extra Features in Messages Group Conversations


Using Messages on the Mac or in iOS is simple. Start a new conversation, enter someone’s phone number or email address, and start chatting. And if you want to talk with several people at once, type a couple of phone numbers or email addresses when you begin.


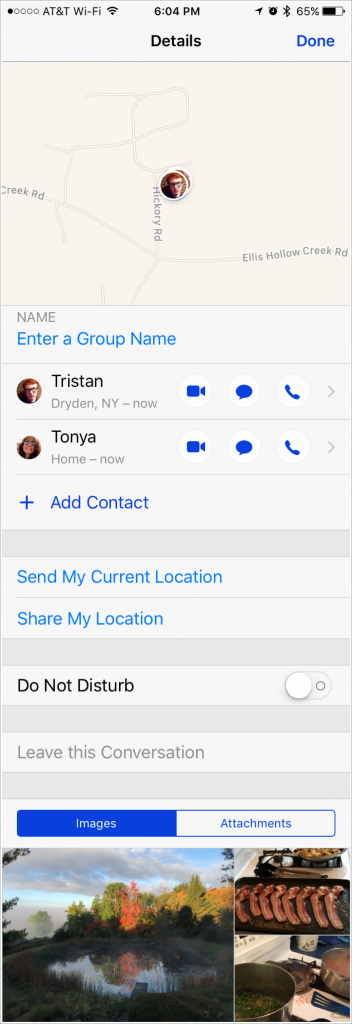
What you may not realize is that if everyone in your group is using an Apple device and iMessage—this is the case if your messages to them appear in blue bubbles—extra features become available when you click or tap the Details button in the upper-right corner of Messages. Did you know that:
  • You can give the conversation a name that’s more descriptive than the truncated names of the people in the conversation. On the Mac, type in the Name field at the top; in iOS, tap in Enter a Group Name and then type.
  • At any time, you can add more people to the conversation; click Add Member (Mac) or tap Add Contact (iOS) and type the desired phone number or email address.
  • You can remove people from the conversation. On the Mac, click the person’s name and press Delete; in iOS, swipe left on a name and tap Delete. Be careful since there’s no opportunity to confirm the deletion, so you’d have to add any mistakenly deleted people back manually. (In iOS, Messages doesn’t always let you remove people.)
  • You can even “delete” yourself by clicking or tapping Leave This Conversation at the bottom of the Details screen. Once you’ve left, you can’t get back in without someone else adding you.
  • Is leaving a little drastic? Perhaps the conversation is being too chatty while you need to get work done. To mute notifications from the conversation, enable the Do Not Disturb option; disable it when you’re ready to be alerted to new messages again.
  • Everyone in the conversation can send or share their location from an iPhone or iPad. Sending a location is like posting a message saying “I’m at the library now” along with a map to where you are. Sharing your location allows the others to see where you are at all times, for one hour, until the end of the day, or indefinitely. Of course, if you opt to share indefinitely, you can revoke that sharing later.
  • When anyone in the conversation is sharing their location, a map appears at the top, showing the locations of those who have shared. This is fabulous for keeping track of relatives during family reunions where different groups head out on separate outings.
  • Finally, the bottom of the Details screen displays all the pictures that people have shared within the conversation. Messages gives you control over these images, letting you copy, save, open, and delete them. It’s all easy; on the Mac, select photos and Control/right-click to see a contextual menu that includes an Add to Photos Library command or press the Space bar to invoke Quick Look for a bigger view and a Share option. In iOS, touch and hold on a photo to see additional options—tap Save to copy the image to the Photos app.
Alas, if you include even one green-bubble friend who doesn’t have an iPhone with an iMessage account set up and instead relies on plain old SMS text messaging, these features disappear. It’s just another way Apple encourages your friends and relatives to use iPhones or iPads.


Monday, February 19, 2018

Quick Tip - Here’s How to Teleport to a Specific Mac Folder While Opening or Saving


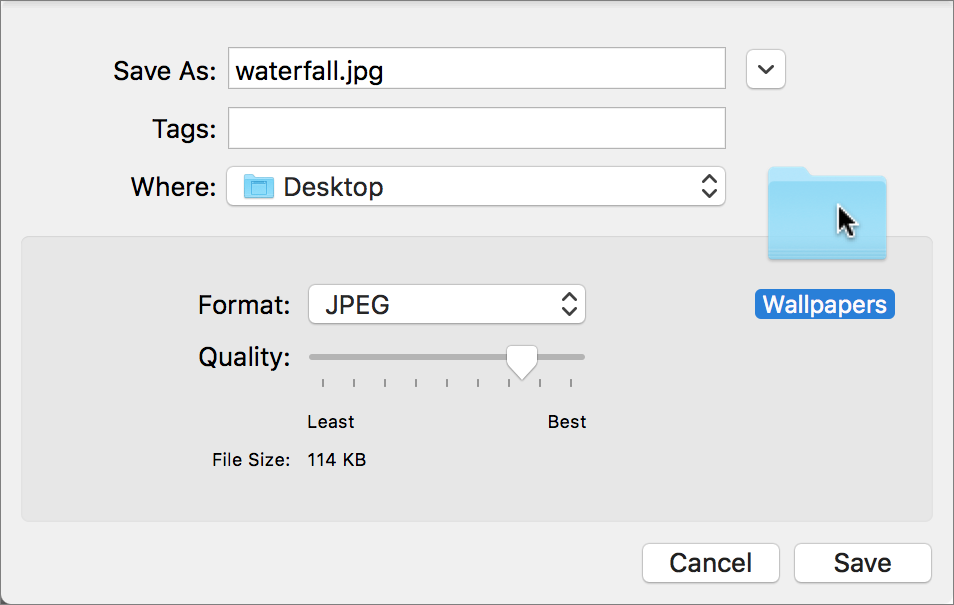
Ever wanted to jump to a particular folder on your Mac while opening or saving a file? You can, thanks to a clever Finder trick. Whenever you have an Open or Save dialog open in an app, switch to the Finder, find the folder you want to access, and drag its icon into the dialog. Presto—instant navigation to that folder! This trick even works if you drag the proxy icon—the little icon in the title bar of any window—for any folder.

dropping-icon-Save-dialog

Saturday, February 17, 2018

Who Should Buy the New iMac Pro?

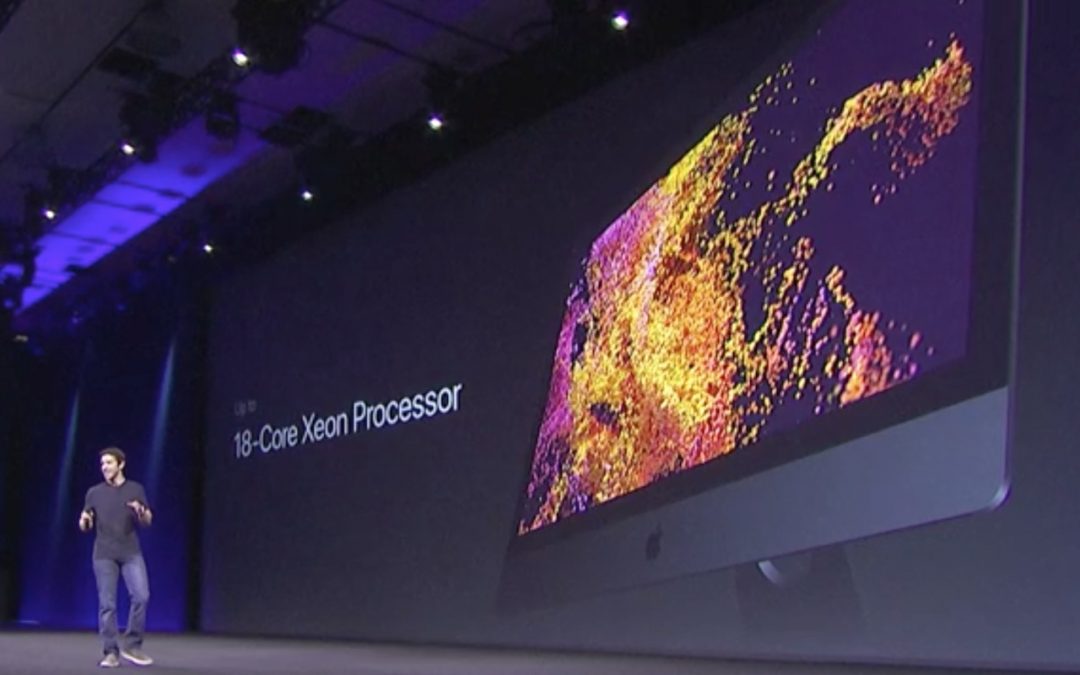
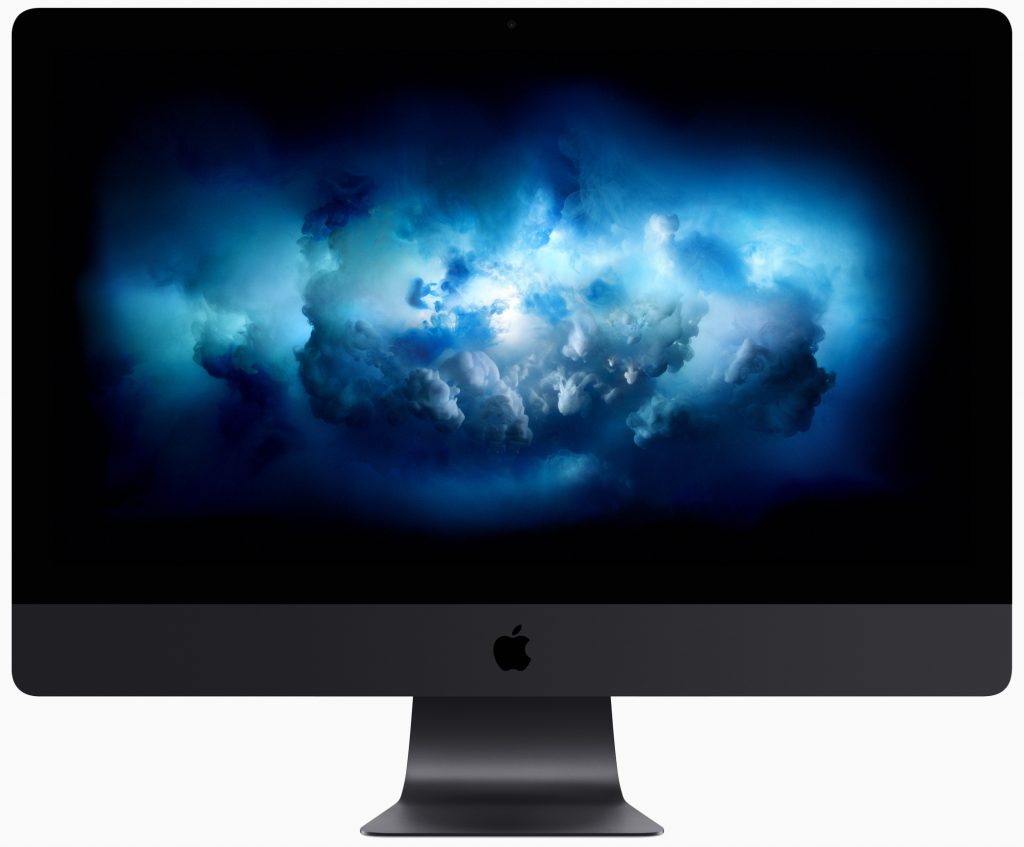
Apple’s new iMac Pro has started shipping, and it’s an astonishing machine. Put simply, it’s the most powerful Mac ever, a title it will likely retain until Apple releases a new version of the Mac Pro, promised for sometime in 2018. But for now, what’s special about the iMac Pro, and should you buy one?
The main thing to know about the space gray iMac Pro is that it’s aimed at high-end professionals, and as a result, it gets pricey fast. The base configuration starts at $4999, and if you max out all its options, you’ll spend over $13,000. That’s a lot of money, but you get a lot of bang for your buck.
The power starts with the processor, an 8-core Intel Xeon W. If that’s not enough performance for you, there are also 10-core, 14-core, and 18-core options. Apple didn’t skimp on RAM either—32 GB comes standard, and you can bump it to either 64 GB or 128 GB. The default storage is a 1 TB solid-state drive, but you can increase that to 2 TB or 4 TB. You can’t upgrade the iMac Pro in any way yourself, but you can take it to an Apple Store or Apple Authorized Service Provider (Or contact me) to have more RAM installed after the fact.
The screen is a stunning 27-inch Retina 5K 5120-by-2880 P3 display, and the iMac Pro drives all those pixels with a Radeon Pro Vega 56 graphics card with 8 GB of memory, though you can get even more graphics processing power from an optional Radeon Pro Vega 64 card with 16 GB.
Most of the iMac Pro’s other specs are similar to the existing 27-inch iMac with Retina display—a 1080p FaceTime camera, 802.11ac Wi-Fi, Bluetooth 4.2, an SDXC card slot, four USB 3 ports, and a headphone jack—but it also boasts four Thunderbolt 3 ports for driving external displays and large storage arrays, along with 10 Gb Ethernet for lightning-fast network access.
It comes with a space gray Magic Keyboard with Numeric Keypad and a space gray Magic Mouse 2. You can switch to a space gray Magic Trackpad for $50 or buy both input devices for $149, which you might want to do because the space gray peripherals aren’t sold separately.
Many of the iMac Pro’s options come with eye-watering price tags—$2400 for the 18-core processor and another $2400 for 128 GB of RAM—but those stratospheric costs make the purchasing decision fairly easy. If you’re in a line of work where increased performance translates directly to increased productivity, you’ll want an iMac Pro as soon as you can get one. It’s ideal for video editors who need to work with 8K video, engineers using complex modeling software, and developers suffering through long compile times. Put simply, if time is money for you, you’ll want an iMac Pro.
And if you’re a professional whose needs aren’t nearly so rarefied, you can rest easy knowing that the regular 27-inch iMac can give you more than enough performance for a lot less money.


Monday, February 12, 2018

Quick Tip - Find the Battery Percentage Indicator on the iPhone X

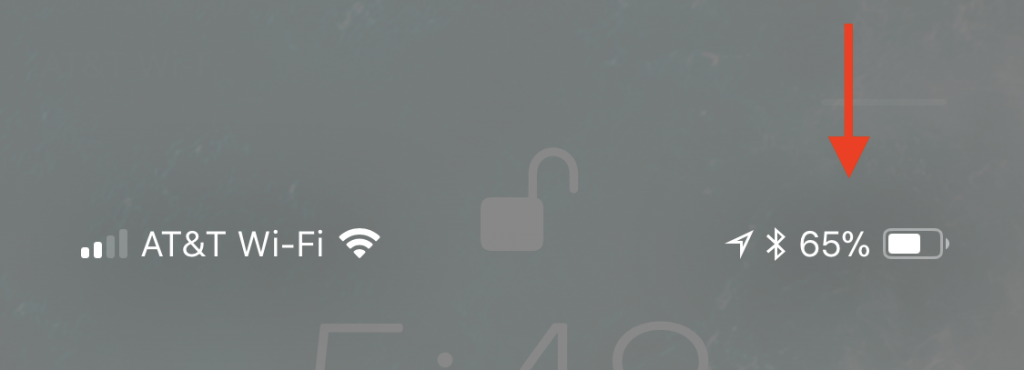
Wondering what happened to the numeric battery percentage indicator on the iPhone X? The notch takes up enough space at the top of the screen that there was room only for the battery icon, which can be hard to interpret. If you want to see precisely what percentage of your battery is left, swipe down slightly from the top-right corner of the screen. That gives you the full set of indicators, including battery percentage. You don’t have to keep swiping down enough to show Control Center, but if you do, all the indicators will be there too.

Friday, February 9, 2018

Apple’s HomePod Smart Speaker Coming Soon